

Blog
Pizza Night on a Kamado: How to Nail That Woodfired Taste at Home
There’s nothing quite like the crackle of charcoal, the smell of wood smoke, and a bubbling pizza fresh off the stone. With a Kamado BBQ, you can recreate that authentic woodfired taste right in your backyard - no pizza oven required.
Whether you’re hosting a family pizza night or just craving a crispy, flame-kissed base, this guide will walk you through making restaurant-quality pizza on your Kamado.
What You’ll Need
Before you get started, make sure you’ve got the essentials:
- Kamado BBQ (Kamado Joe, Big Green Egg, etc.)
- Pizza stone (Kamado Joe's ceramic pizza stone or equivalent)
- Heat deflector (to avoid burnt bottoms)
- Pizza peel (for easy transfer)
- High-heat charcoal
- Infrared thermometer (optional, but helpful for reading stone temperature)
Step 1: Prep Your Dough & Toppings
Start with a good dough - homemade or store-bought. For best results:
- Let your dough come to room temperature
- Use high-protein flour (00 or bread flour)
- Keep toppings light - Kamado heat is intense, and overloaded pizzas won’t cook evenly
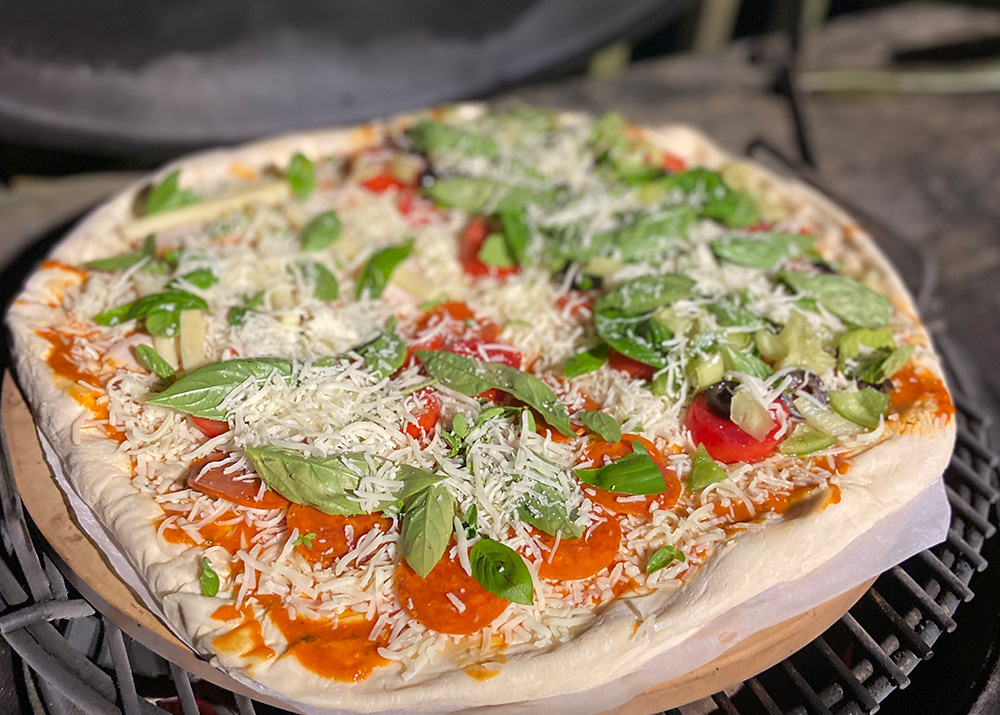
Tip: Less is more. Stick with a few quality ingredients like San Marzano tomatoes, fresh mozzarella, and basil.
Step 2: Set Up Your Kamado for Pizza
- Fill your firebox with quality lump charcoal
- Light the charcoal and let it burn until glowing red (about 15–20 minutes)
- Insert your heat deflector and pizza stone, then close the lid
- Open both top and bottom vents for maximum airflow
Aim for around 250–300°C at grill level, and a stone temperature of 300–350°C for crisp Neapolitan-style results.
Pro tip: Let the pizza stone preheat for at least 20–30 minutes to avoid soggy bases.
Step 3: Assemble & Cook
- Lightly flour your pizza peel
- Stretch your dough and add toppings
- Slide the pizza onto the hot stone, close the lid, and cook for 4–6 minutes
- Check frequently - the bottom cooks fast, and you may need to rotate the pizza once for even browning
Watch for bubbling cheese and lightly charred crust edges. That’s your cue the pizza is ready.
Step 4: Serve & Repeat
Remove your pizza with the peel, let it cool for a minute, slice it up, and enjoy. Then repeat the process for your next pizza.
Bonus Tips for Kamado Pizza Success
- Use semolina flour on the peel to prevent sticking
- Pre-cook wetter toppings like mushrooms or sausage
- Try different wood chunks (like oak or cherry) for added flavour
- Keep the lid closed during cooking to maintain even heat
Make Pizza Night a Weekly Thing
Once you’ve mastered the basics, the possibilities are endless - white pizzas, dessert pizzas, gluten-free doughs, and more. Your Kamado isn’t just a BBQ; it’s your very own woodfired pizzeria.
Ready to elevate your outdoor cooking?
Discover our full range of Kamado BBQs and experience unbeatable flavour, heat retention, and versatility - all in one grill.